Unity Configuration / Overview
Goals
- Launch Unity
- Create a Unity project
- Configure Unity layout to one better for this workshop
- Learn the fundamentals of Unity - Scenes, game objects, components, prefabs
If you are already familiar with Unity, you can skip this section.
Create Unity Project
- Open Unity
- Press the "New" button
- Enter the project details, we'll call it "The Swarm" for now.
- Ensure the project is
3Dand, for simplicity, turn Unity AnalyticsOff - Click create project.
At this point you'll be greeted with the Unity main window. We're going to fiddle with the Unity layout a little to make our lives easier
- From the menu, Select
Window->Layouts->Tall
Your window will look like this.
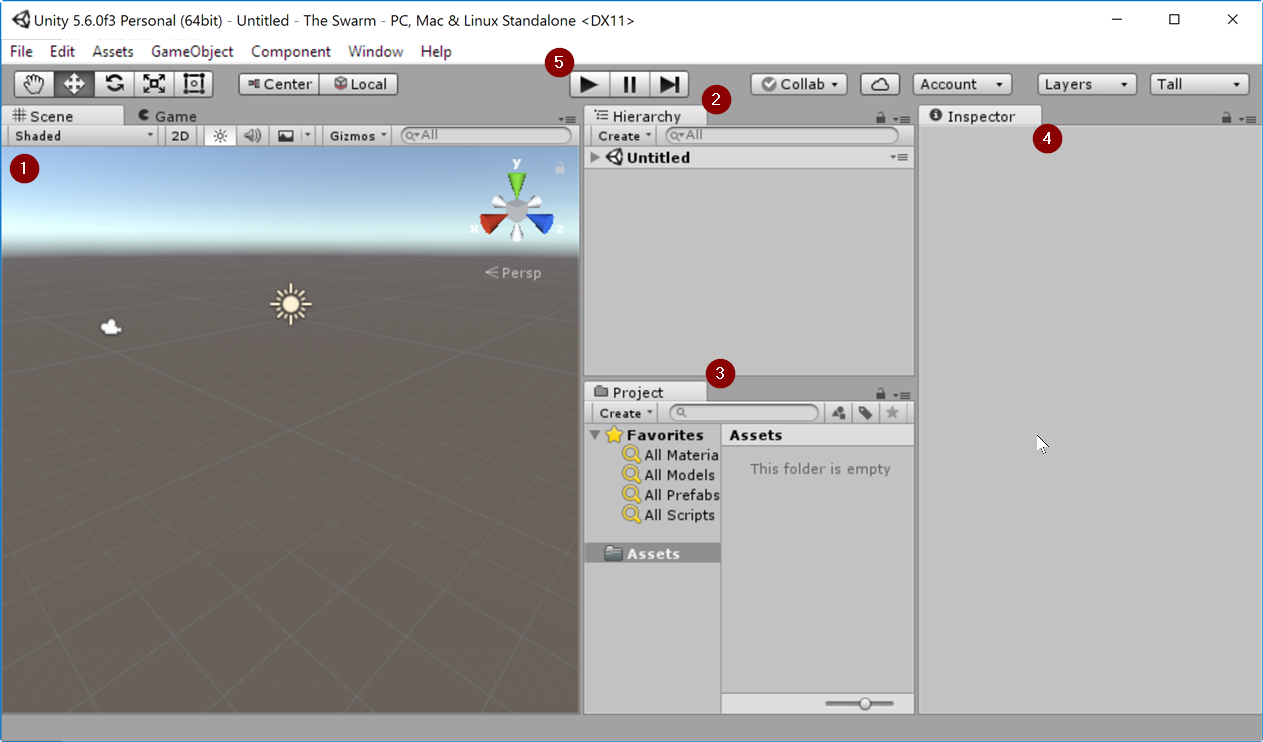
- A preview of the unity scene. Most of your layout and positioning will be done here.
- The currently loaded scene - a hierarchy of all the game objects in the scene.
- Your project assets. Think icons, shaders, materials and meshes.
- The inspector. Shows the properties of the selected game object, and allows you to attach components to each.
- The play button. Starts your game within the unity editor - this is how you will do most of your previewing.
Crash Course: Unity concepts in 5m or less
For those experienced in Unity, feel free to skip this section. For the rest of us, let's learn the ropes in Unity.
We will not be using anything we create here, so don't go crazy with accurately positioning things or anything
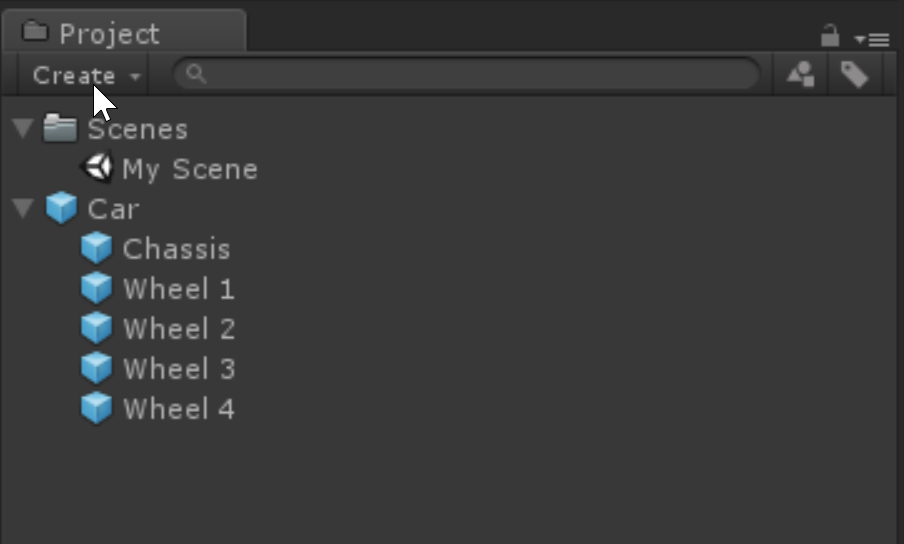
Assets
Assets are displaying in the Project tab of Unity. This view matches your file system, but displays previews and has Unity-specific icons for the different assets.
Scenes
The top level concept in Unity is a Scene, which is describes an aspect of your game world. For example, Pokemon would have at least 2 scenes - one for the world view, and one for the battle mode. When a Pokemon is encountered, the scene will change.
To create a scene:
- In the
Projectsection, chooseCreate, thenFolder - Call the folder
Scenes - Right click the folder, choose
CreatethenScene - Give the scene a name
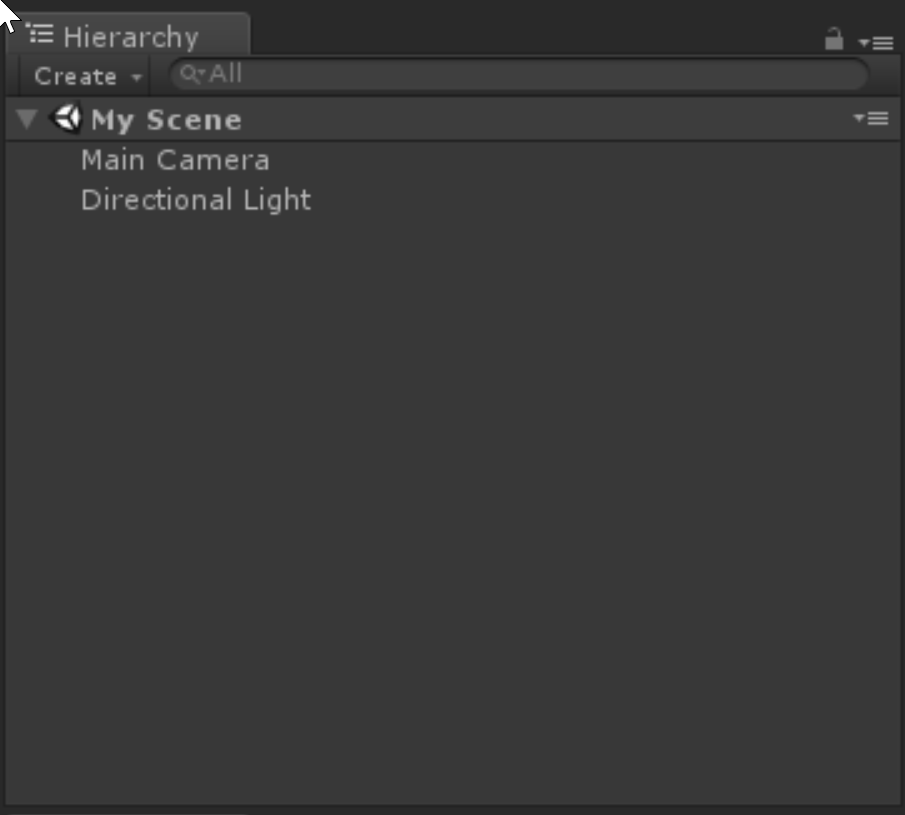
My Scene - Double click the scene
The Scene will now be loaded in the Hierarchy section. The first scene comes with a free Directional Light and Main Camera, and we can see the Scene window has a preview.
Game Objects
A Game Object is a container for anything visual or behavioural in your game. Each Game Object can hold other Game Objects too, and their position/rotation/scale transforms are hierarchical in nature - so if you move a parent game object, all child game objects will be moved as well.
It is extremely common to have empty game object for the sole purpose of grouping like objects together, as you wlll see.
Let's make our first scene - a car sitting on the ground.
Create the ground
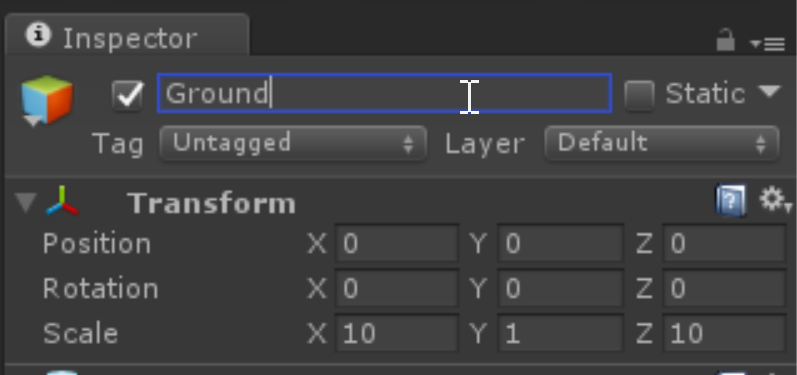
- In the Hierarchy tab, click
Createthen3D objectthenPlane - In the inspector, Rename the object to
Ground - Set the scale to
(10, 1, 10)to make it big enough for the car - Set the position to
(0, 0, 0)
Create the car
- In the Hierarchy tab, click
CreatethenCreate Empty
This creates an empty game object, in our case to group the different pieces of the car.
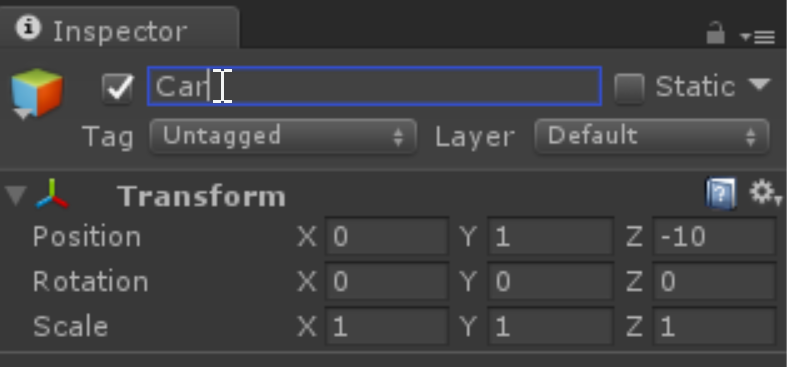
- In the inspector, rename the car object to
Car - Ensure it is positioned at
(0,0,0)
- Right click the
Cargame object, choose3D ObjectthenCube - Rename the cube to
Chassis - Set the scale transform to
(1.8, 1.2, 4.8). We will be treating 1 Unit = 1 Metre for our scale - simple! - The
Cubemesh is centered at(0, 0, 0), so let's raise it off the ground by setting the position to(0, 1.1, 0)- we are leaving space for the wheels. - Right click the
Cargame object, choose3D ObjectthenCylinder - Rename the object to
Wheel 1 - Position the wheel at
(0.9, 0.4, 1.8) - Rotate the wheel around the
Zaxis by90degrees - Scale the wheel to
(0.8, 0.1, 0.8)
We've created our first wheel!
- In the inspector, right click the wheel and choose
Duplicate - Rename it to
Wheel 2 - Change the
Zposition to-1.8
Repeat the above steps for wheels 3 and 4, negating the X and Z positions in each case.
Have a look around
The simplest way to move around in the editor is to hold down the right mouse button, and use the WASD keys to fly around. There are some useful shortcuts though
- Click an object and press
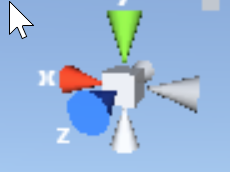
Fto bring it into focus - Use the axis alignment tool to align the view:
Some tweaks
- Our
Main Camerais currently at ground level. Set the position to(0, 1.7, -6)to bring it to eye level, and closer to the car - Seeing the car front-on from our camera preview is a little lame, set the rotation of the
Carto(0, 30, 0)to rotate it a little
Play!
Press Play and see your rendered scene in the Unity Player.
You'll note there's no input or anything - we won't go in to that now, as HoloLens does it for us very simply.
Stop!
This deserves a section on its own - don't forget to hit the Play button again when you're done looking.
Any changes made to the scene while in Play mode is not persisted when you exit playmode. This can be a very painful lesson to learn!
Components
You may have noticed that as we were building our game objects, each one had a set of components representing meshes, materials, colliders etc. This is how you attach scripts and things to your game object, too. As a quick example of adding components, let's add physics to our car by having it accelerate.
- Select the
Cargame object - For simplicity, set the rotation back to
(0,0,0) - Click
Add Componentand chooseRigidbody - Set the mass to 1 tonne:
1000 - Click
Add Componentand chooseConstant Force - Make it accelerate by setting
Forceto(0, 0, 20000) - Hit play. Bye car!
Prefabs
Now we have a fantastic car, let's make it reusable. Which will be useful, because we're going to crash them into each other.
- Right-click the assets section, and click
Create Folder - Call the folder
Prefabs - Drag the
Cargame object down to thisPrefabsarea
This creates a Prefab - a "master copy" of the game object in its own file, which can be put into the scene and tweaked.
Note the existing car object in your scene hierachy has changed colour, it is now an instance of the prefab, with all the settings coming from the prefab.
- Rename the existing
Carobject in the scene toCar 1 - Set the car position to
(-10, 0, -0.5) - Set the rotation to
(0, 90, 0) - Drag the
Carprefab to the scene - Rename it to
Car 2 - Set the car position to
(10, 0, 0.5) - Set the rotation to
(0, -90, 0)
Note that changing all these settings applied to the instance, not the prefab. At any time you can revert by using the buttons at the top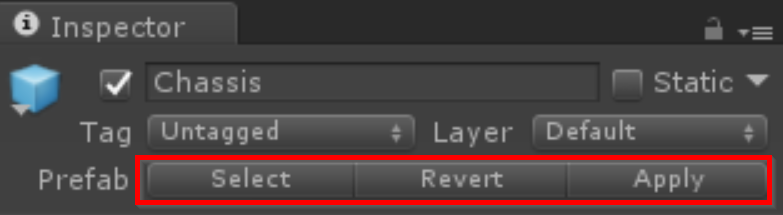
Go!
- Press play.
OOPS! the cars go tumbling away! The force we applied are being applied absolutely not relatively - which means they are in world coordinates; the rotation transforms will not be applied here.
You can see here the inherent chaos of physics engines - same force, same mass, same geometry, different bounce profiles. Interesting, no?
Luckily the Constant Force component has a Relative Force property, let's use this instead
- In the project section, select the
Carprefab - Set the force vector to
(0, 0, 0) - Set the relative force vector to
(0, 0, 20000) - Let's move the camera back a bit, to
(0, 0, -12). Constant tweaking, that's graphics development in a nutshell.
Press Play! Michael Bay is jealous.
Notice that just be changing the prefabs, we've fixed both the cars! Prefabs. Use them. Tell your friends.
Final notes
There is a lot more to Unity that we didn't cover here - scripting, materials, shaders, etc. You will come across these as you do more Unity development, but you should now have a good basis for working on Unity based projects.
Next: HoloToolkit
Prev: Prerequisites